Lewis - A2A wrote:This chap is the stereotypical British garden shed inventor, lovely stuff
http://www.videojug.com/interview/inventing-2
Thanks for sharing that link Lewis. I really enjoyed his story.
Ed
Lewis - A2A wrote:This chap is the stereotypical British garden shed inventor, lovely stuff
http://www.videojug.com/interview/inventing-2


As part of the checkout I gave when transitioning a Mustang owner into their airplane after their dual flying the T6 from the back seat I would have them go through a blindfold cockpit check where they would reach out and touch something as I asked for it.Raceguy wrote:Hi guys
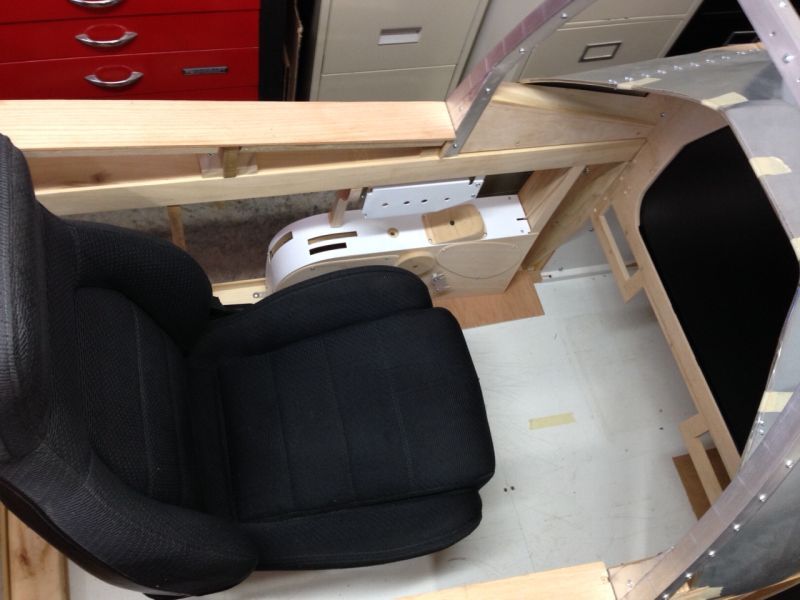
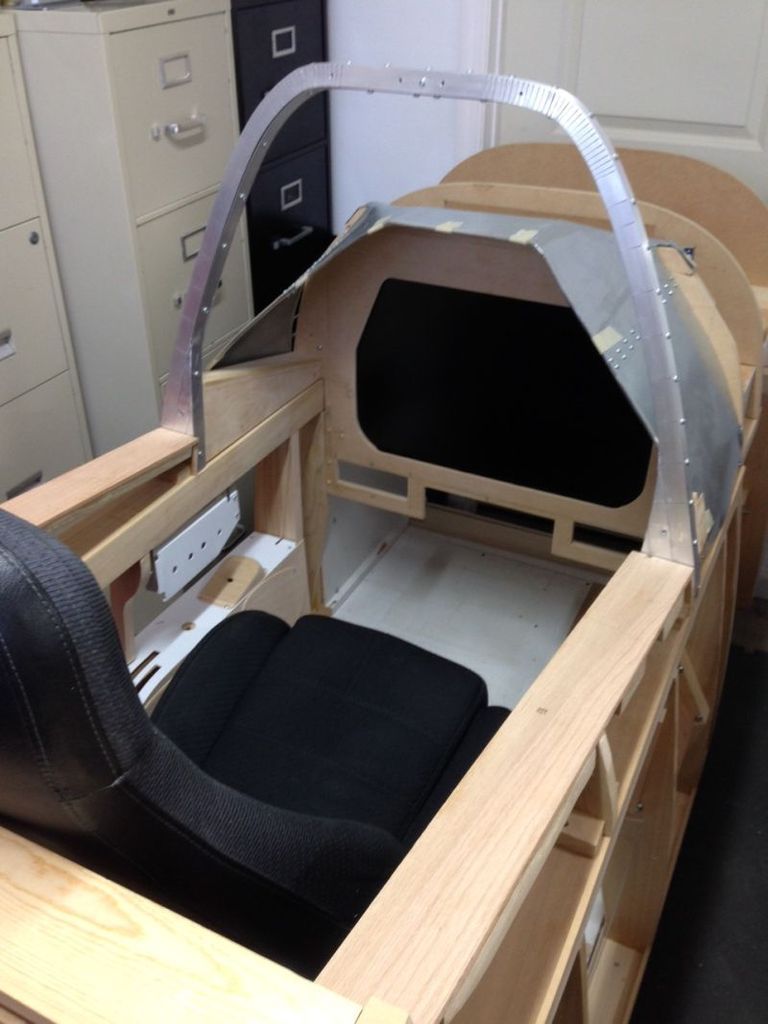
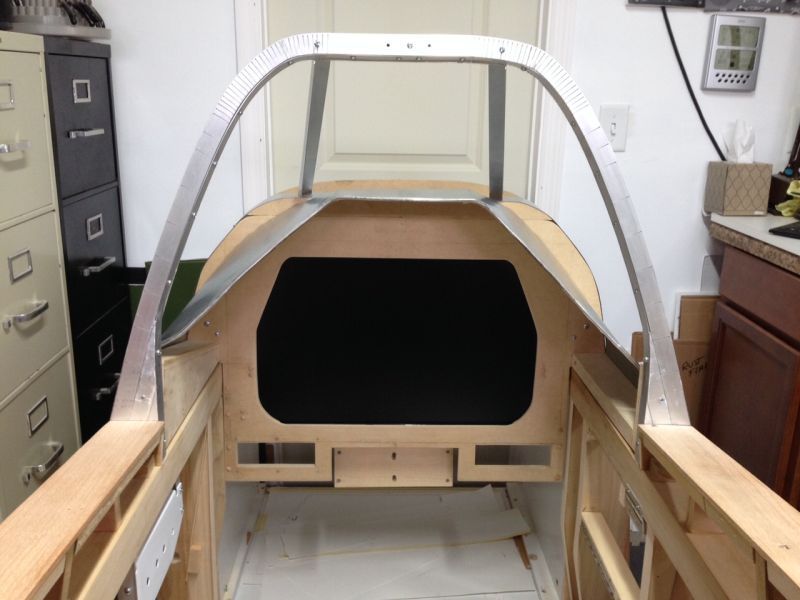
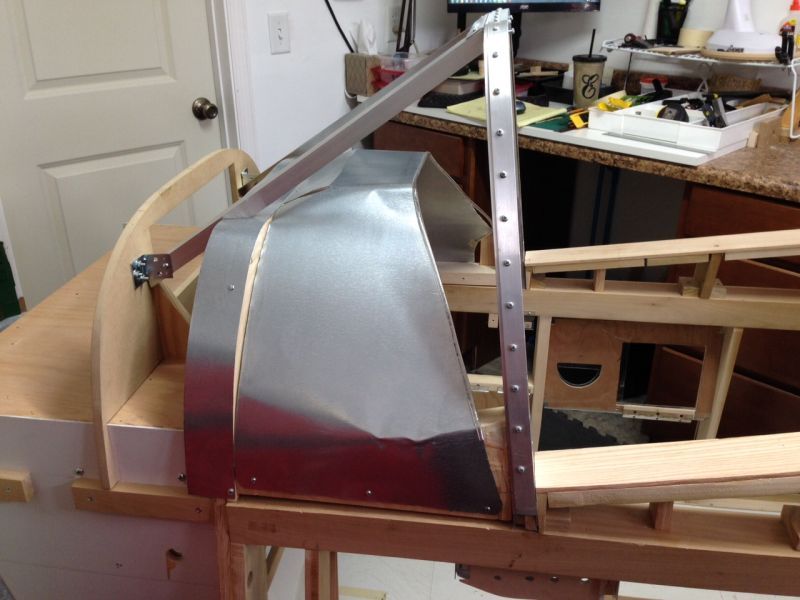
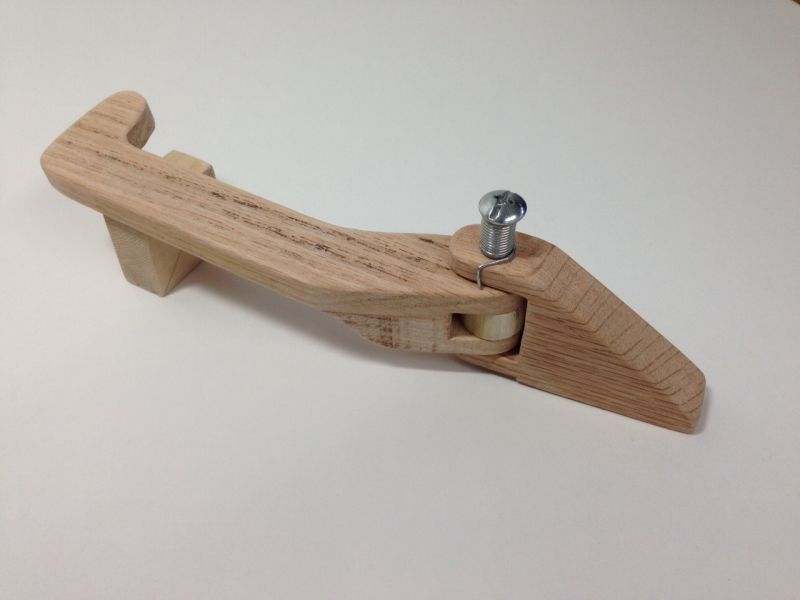
I was never really happy with the first metal shroud. I was concerned about handling and cutting a 2x4 foot piece of metal so I got 2 2x2’s and bolted them together. I called it “battle damageâ€Â. The closer we get to Halloween the more it looked like a Frankenstein project gone bad.
So I was off to the home center for a 2x4 foot piece that I should have used the first time. I’ve been there so much they now wave and ask how the project is coming along. I’ll probably get a Christmas card from the store manager!
The wrinkle on the side will be corrected before I put on the skin.
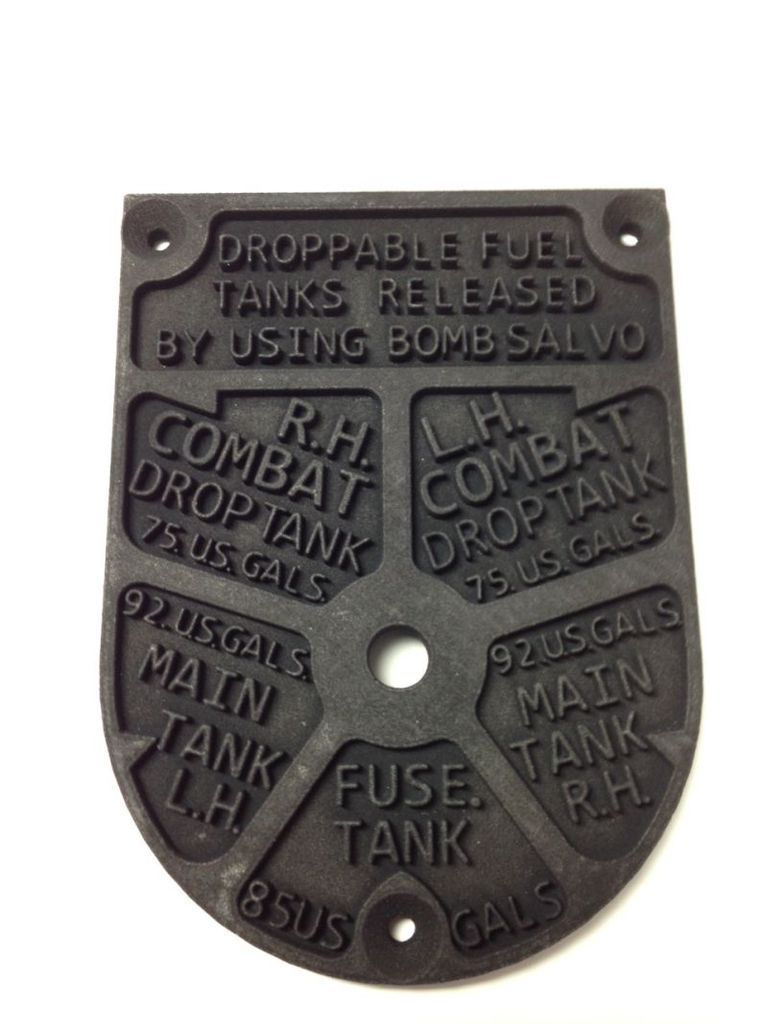
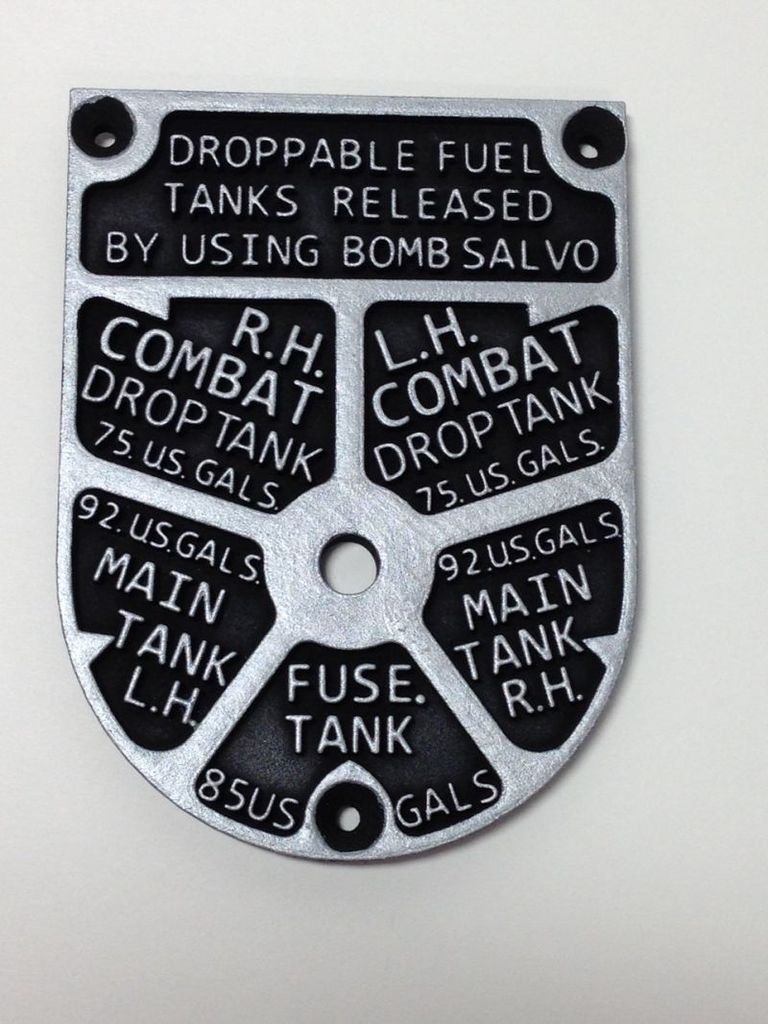
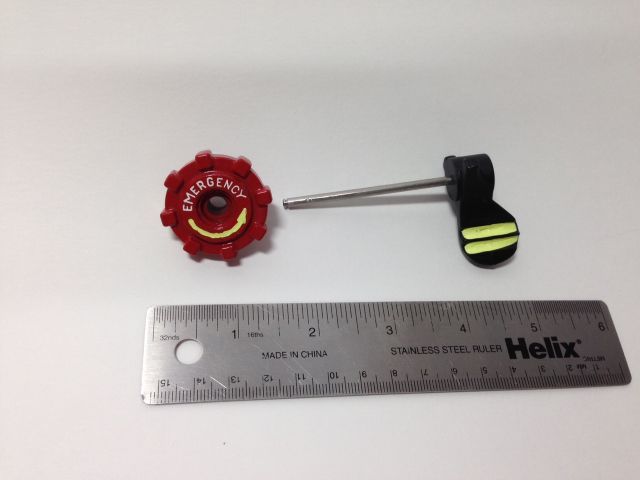
Also, I have started painting the fuel selector and will post pics in a few days.
Thanks for looking
Ed
Thank you. We have family in Ormond Beach but that's on the other end of route 4 and you know what a mess it is to drive route 4Raceguy wrote:Hi Dudley
Thank you for your kind words of encouragement. You can't imagine what that means to me, coming from you, a Mustang pilot. If you ever get to the Tampa, FL area you have an open invitation for a visit.
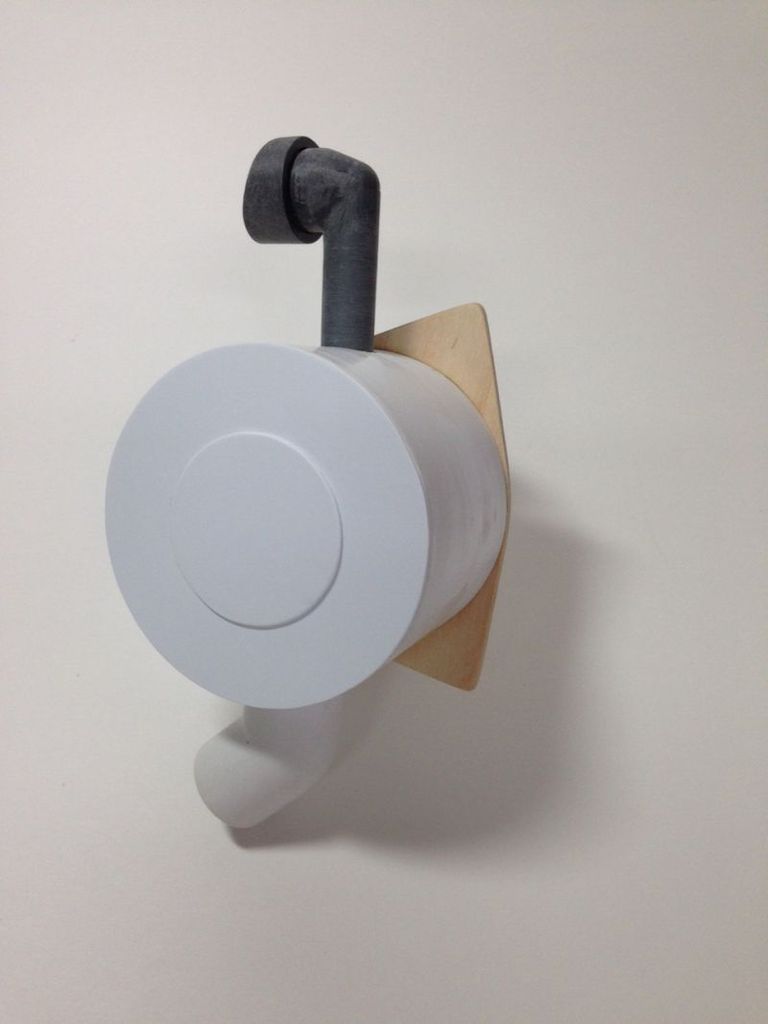
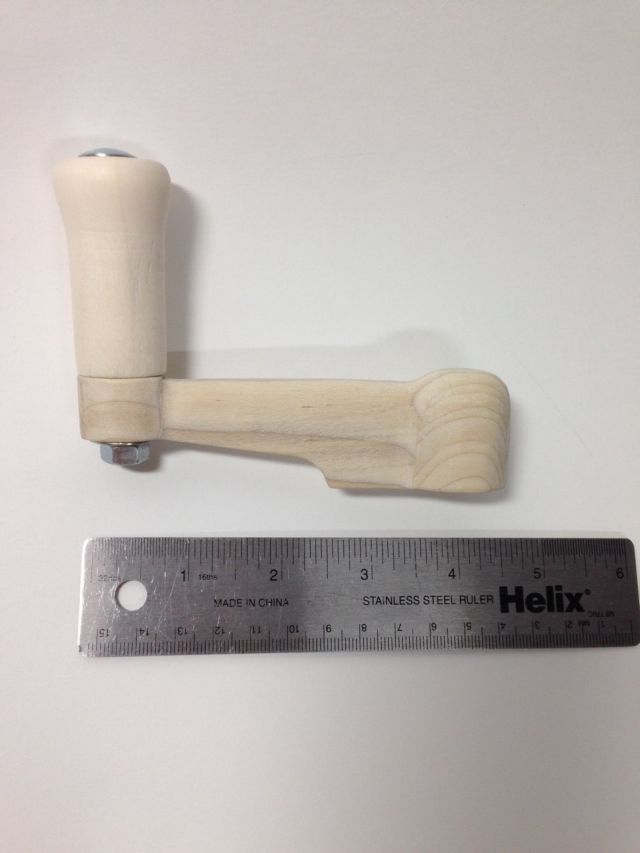
Today I started working on the oxygen regulator. I have no plans or dimensions for this part. I am estimating its size by comparing it to other items in photographs where I know the dimensions. I'll post pics soon.
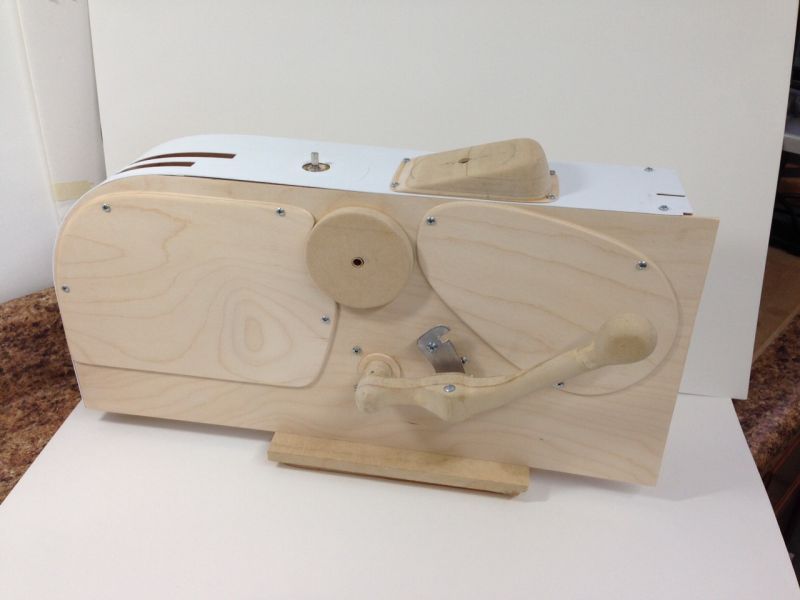
I finished the paint on the fuel selector today and here is a pic.
Thanks everyone
Ed


Users browsing this forum: No registered users and 35 guests

