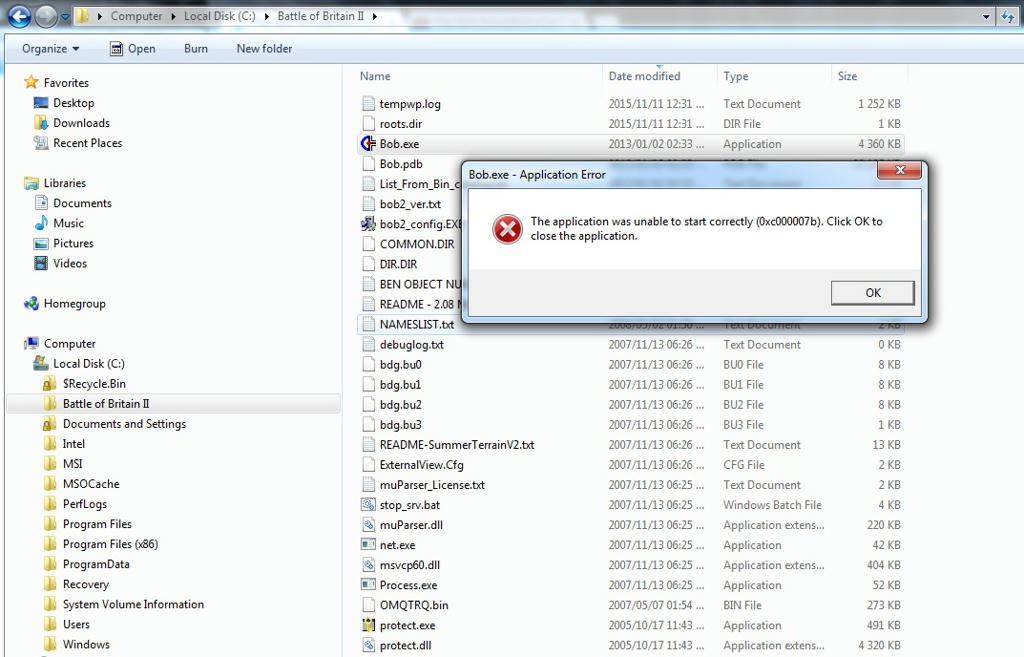
HAZZIE,
Here are my 2dGauges:
http://www.mediafire.com/download/r0uia ... n_2015.zip
---------------------------------------------------------------------------------------------------------------------------------------------------
INSTALLATION:
1. Extract the 2dGauges stickman 2015 zip to desktop are another temporary place.
The folder extracted will be named 2dGauges.
2. Backup your original 2dGauges folder somewhere, and re-name it 2dGauges old, or some such.
3. Remove the entire folder of the original 2dGauges. Delete it you have backed it up.
4. Put my 2dGauges folder into the Battle of Britain II root folder.
---------------------------------------------------------------------------------------------------------------------------------------------------
I strongly advise that you do completely remove the old 2dGauges folder, and replace it with my folder
because strange & unwanted things can happen, if you do not. Especially when padlocking other aircraft Targets.
----------------------------------------------------------------------------------------------------------------------------------------------------
NOTES for this version that I give you.
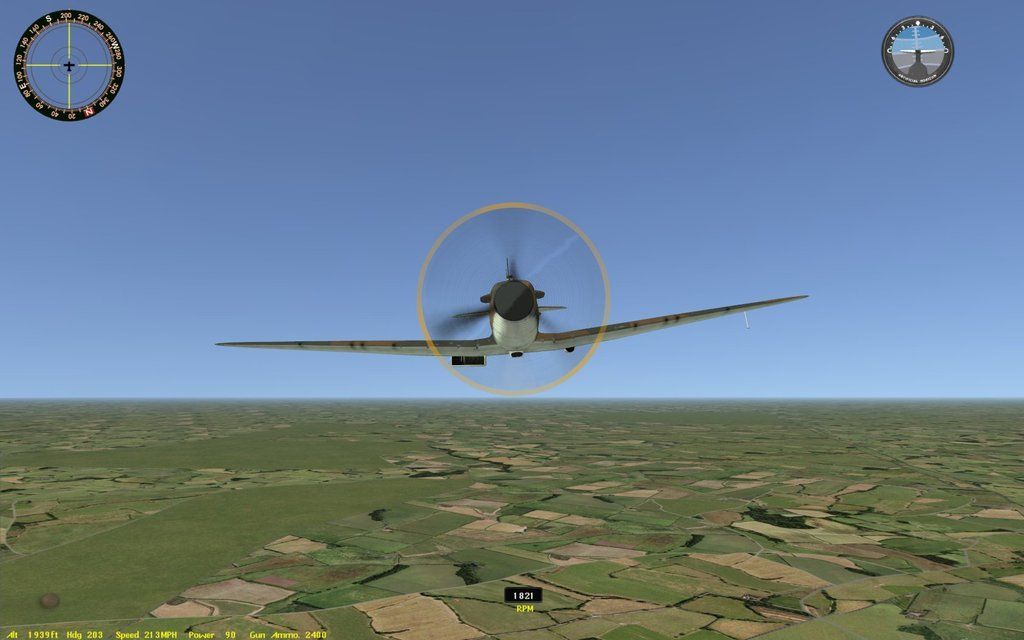
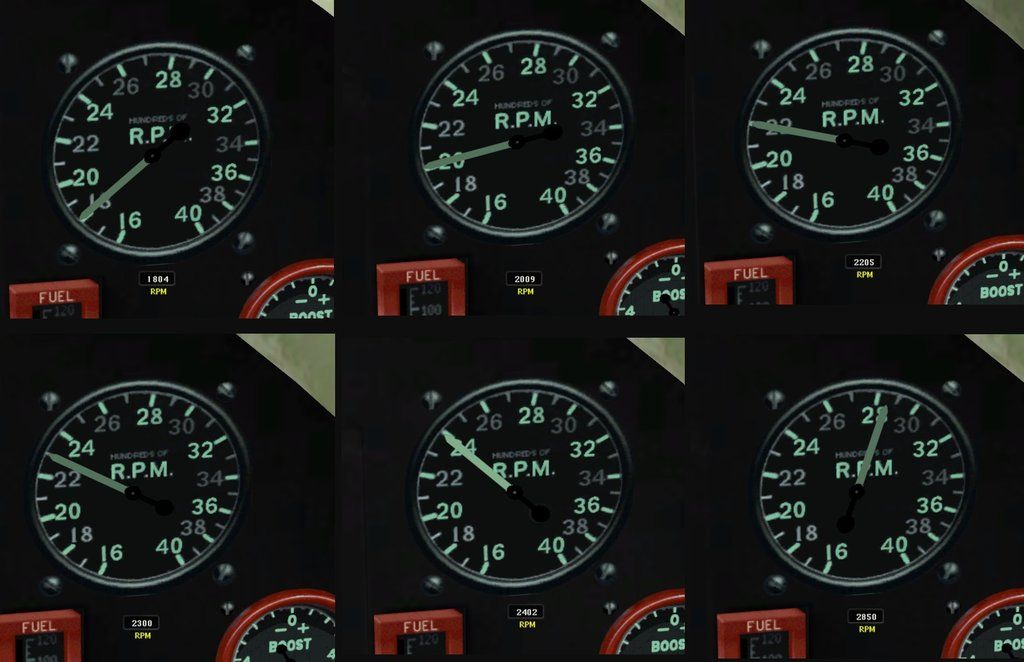
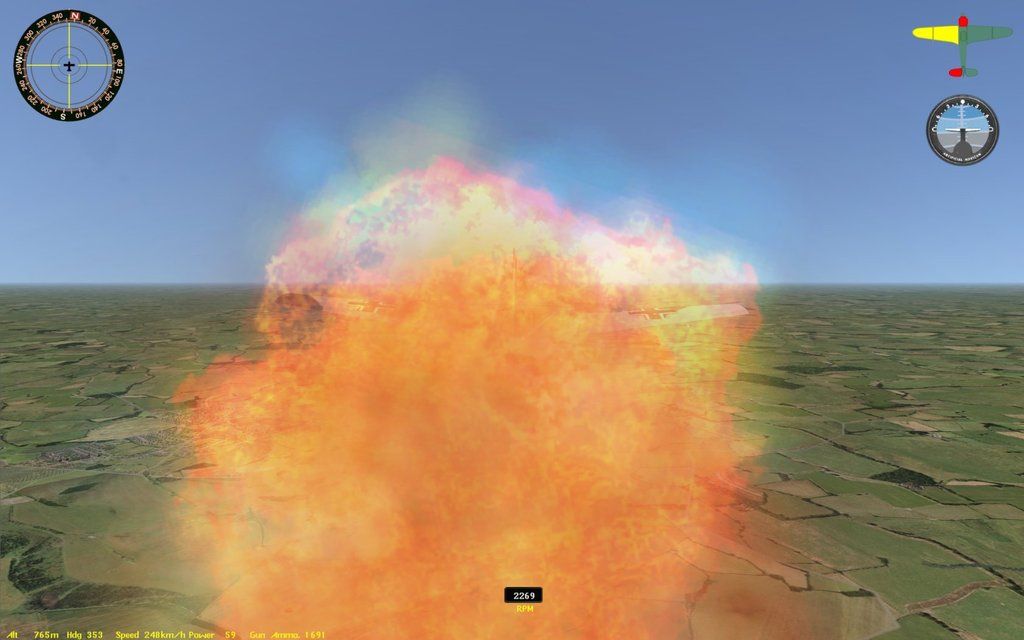
1. The digital RPM indicator will appear with the Spitfire, Hurricane, and the Emil.
Always in the same bottom center place.
2. The only aircraft where I have yet a good RPM 3D gauge is the Spitfire.
I have not yet calibrated good 3D RPM gauges for the Hurricane, Emil, Me110, or Stuka.
(yeah.. I gotta lotta 3D gauge repairs & calibrations work yet to do. The jobs are endless and always something to do!)
3. My 2dGauges folder is also incomplete, and does not offer every possible 2dGauge for every aircraft.
(again.. I gotta lotta work to do!)
My folder only has the basics of flight info, that some players have requested.
4. I left the Artificial Horizon, the Rotating Compass with Enemy Indicator, and the WARNING LIGHT - WAR POWER enabled to show up in all aircraft.
You can turn these 2dGauges OFF or ON in the instructions below, Note 5:
5. Switching ON or OFF individual 2D Gauges:
Every 2D Gauge has a similar structure. Below is the Artificial Horizon gauge, for example,
which is the old Rowan Artificial Horizon 2D Gauge when pressing the H (for Head Up Display) key.
These lines live in each aircraft's Configuration file. The ones with the gear wheel icons, as per - Spitfire_2dGauges - (Configuration settings file)
//Artificial Horizon
{
Name = artHorizon
ScreenPosition_X = 550
ScreenPosition_Y = 11
GaugeWidth = 47
GaugeHeight = 55
GaugeType = 5 //artHoriz
DrawWhen = 1 //drawWhen: 0=never, 1=all views, 2=virtual cockpit only, 4=outside views only
RotationScaler1 = 1
RotationScaler2 = 1
NeedleStartAngle1 = 0
NeedleStartAngle2 = 0
NeedleMapIndex1 = 0
NeedleMapIndex2 = 0
NeedleSizeScaler1_W = -.001
NeedleSizeScaler1_H = 0
NeedleSizeScaler2_W = -.001
NeedleSizeScaler2_H = 0
NeedleCenterAdj1_X = 0
NeedleCenterAdj1_Y = 0
NeedleCenterAdj2_X = 0
NeedleCenterAdj2_Y = 0
MaxValue1 = 0
MinValue1 = 0
MaxValue2 = 0
MinValue2 = 0
GaugeFaceBitmapNumber = .\2dGauges\BALL03.pcx //38 //BALL03 //all images are .pcx files-no alpha
Needle1BitmapNumber = 37 //BALL02 //.pcx file - This image is the gauge alpha
Needle2BitmapNumber = .\2dGauges\BALL01.pcx //36 //BALL01 //.pcx file forms moving center of gauge
Label =
LabelColor = 0
DisplayColor = 0
}
Highlighted in yellow is the
Drawwhen switch to turn ON a 2D Gauge.
It is actually a 4-Way switch. You can select 3 different view types you want it be ON, or OFF always.
To turn it OFF always set the number as 0.
--------------------------------------------------------------------------------------------------------------------------------------------------------
Note 6.
There is a lot of stuff that Scott and his A2A coder added in 2D Gauges.
Ammo Counters, Ammo Belt ammo counter indicator, Flaps Up, Flaps Down, Gear Up, Gear Down, etc. that I never thought should be included into a "Head Up Display".
All these textures are included in my 2dGauges folder, I just never never added those lines and textures into my aircraft Configuration Settings.
Just the flight control basics, for me.
Plus.. I made a lot of new textures and calibrated the 2D Gauges better. I made the Rotating Compass first, as that is nice to have Up, for me.
Scott made a Damage Indicator which I never yet used until today.
It is made up of several parts, with 3 degrees of damage for each part. None (green) Light (yellow) and Heavy (red).
Parts are:
- Engine
- Canopy (which I would have called Cockpit)
- Outer Left Wing
- Outer Right Wing
- Inner Left Wing
- Inner Right Wing
- Left Tail
- Right Tail
- Fin (rudder)
Today I hurriedly assembled this Damage Indicators into the Me109 Config file. Moved the Emil Artificial Horizon down below it.
You can turn all of this stuff off, HAZZIE, setting the Drawwhen lines to 0.
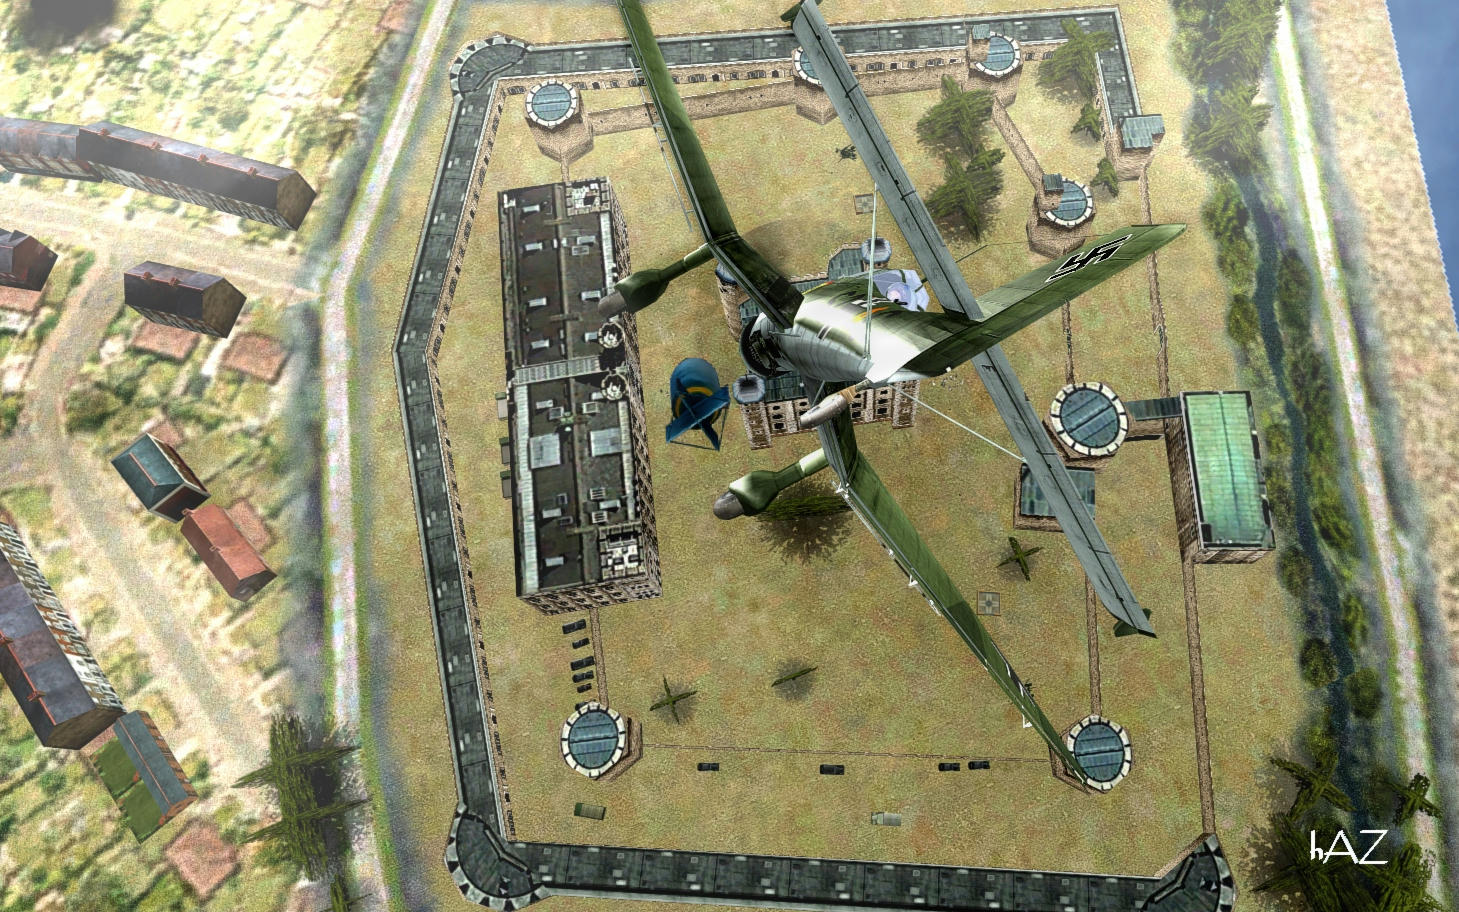
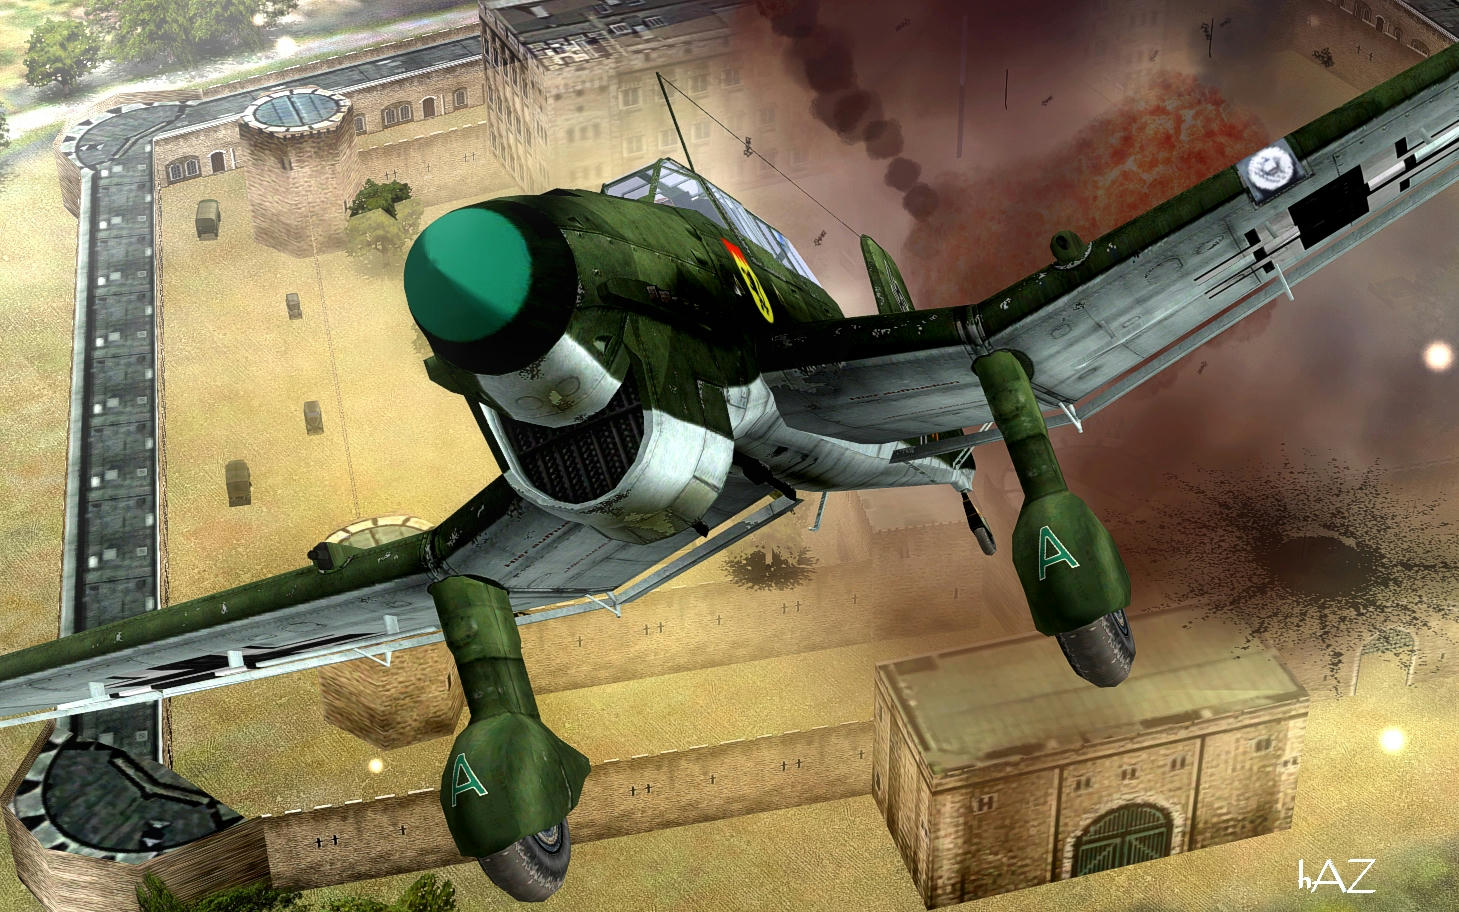
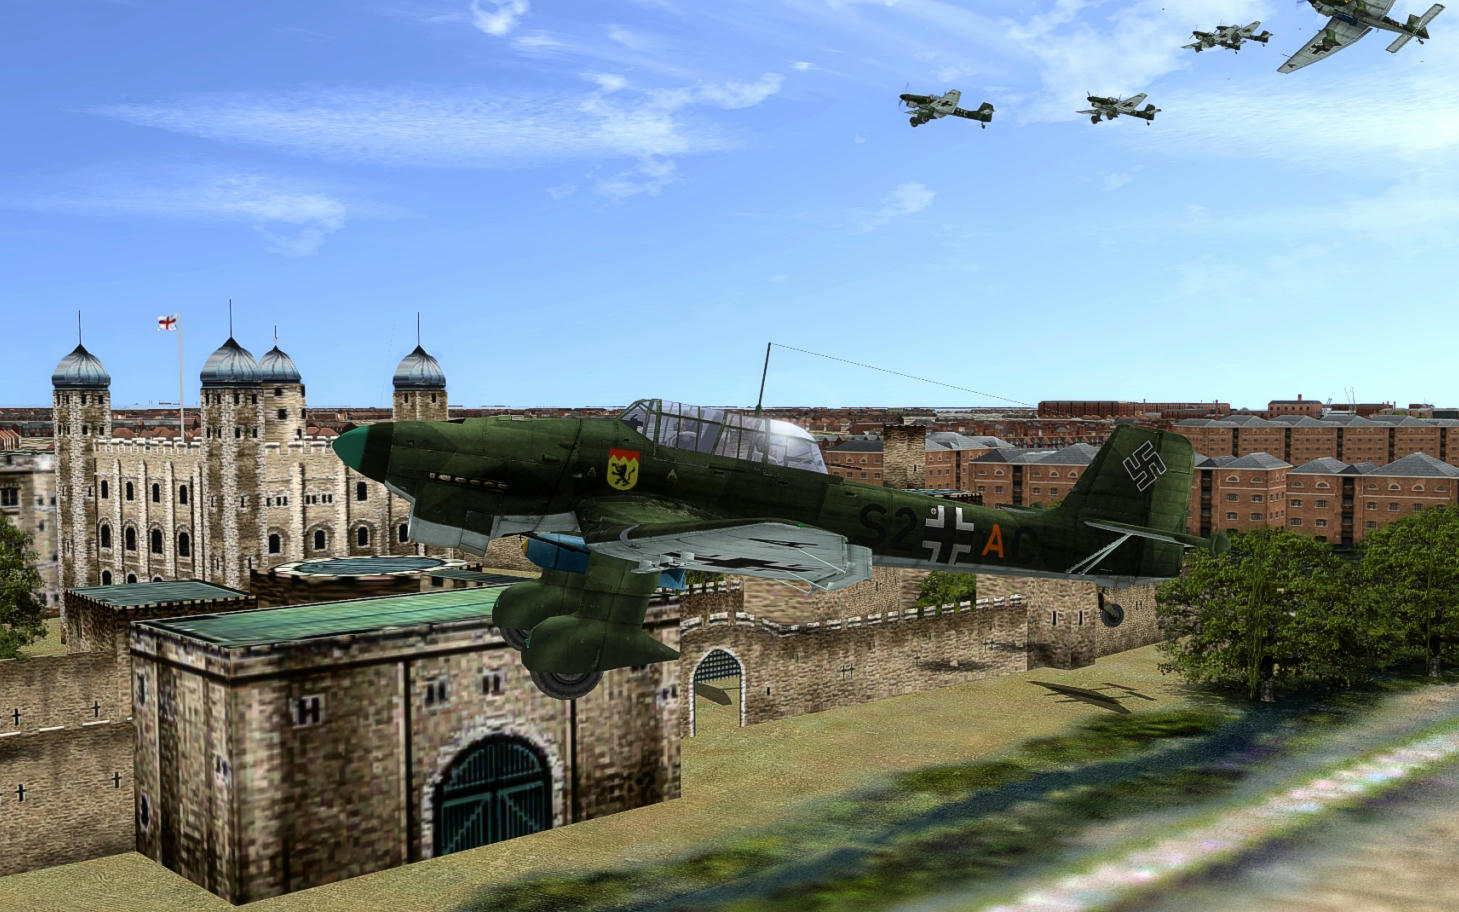
Flying slowly over Debden in an Emil, collecting 40mm Bofors bullets:
First hits on first pass over:
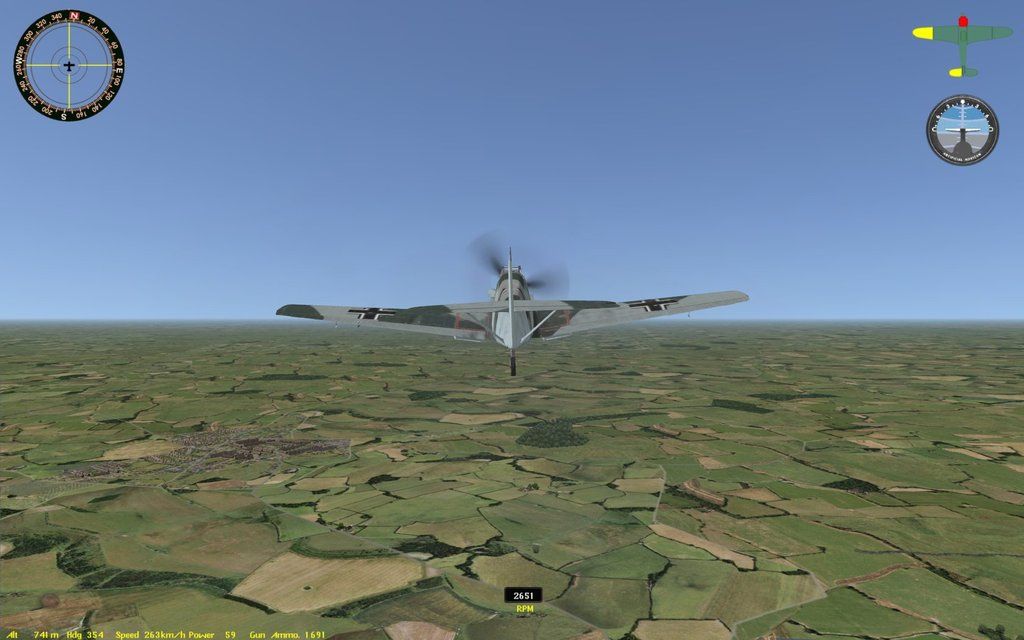
Continuing to present an easy Target, I collect some more 40mm ground fire:
----------------------------------------------------------------------------------------------------------------------------------------------------------------
Note 7.
This 2dGauges folder is made for a wide screen monitor.
I have an old 4x3 resolution make, which I can supply if needed. In a few days..
Some day.. I will make better 2dGauges folders. 18x9 and 4x3 resolutions, and write the definitive set of editing instructions.
After I fix the rest of the 3D gauges,
fix all the rest of the Factories, Docks, and Radars,
make better LW airfields with better Take Off & Landing patterns for them,
and fiddle experiment trying to find better sea looks.
Aloha!